
The WordPress Yoast SEO plugin is introduced by Joost De Valk and it is one of the most important plugins. It is a free plugin which lets to analyze and optimize the SEO characteristics of your website. Yoast SEO is the first plugin that needs to install and setup after setting up WordPress on your hosting account. Installing and setting up WordPress Yoast SEO plugin will take only a few minutes. In our WPBlogX website, we use Yoast SEO plugin. Let’s see step by step procedure how to install and setup WordPress Yoast SEO plugin.
Installation and Setting up WordPress Yoast SEO plugin:
Installing Yoast SEO plugin:
- In the WordPress dashboard click on “Plugins” followed by “Add new”
- Then type Yoast SEO in the search box and then click “Install now”
- Now upon installation and activation, you will get a new menu item on your WordPress dashboard with Yoast logo on it
Now the installation process is done and next, we will see how to configure the Yoast SEO plugin.
Setting up Yoast SEO plugin:
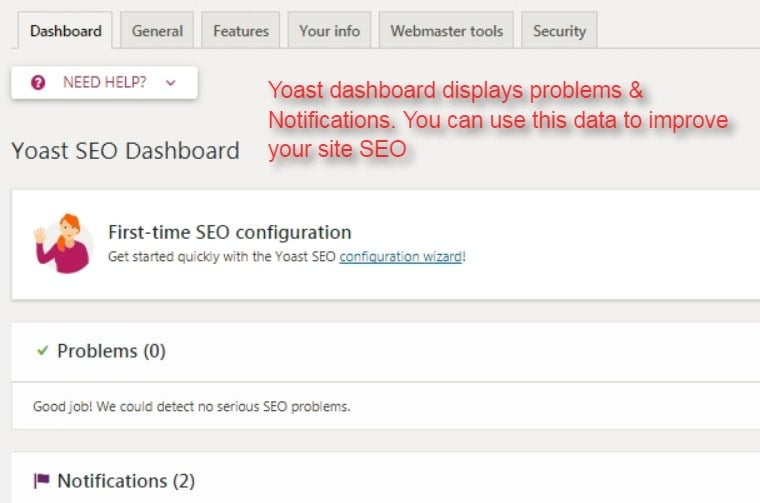
1. Dashboard
Dashboard
In the SEO section go to Dashboard, in dashboard section you can see the notifications for problems and improvements to your website.
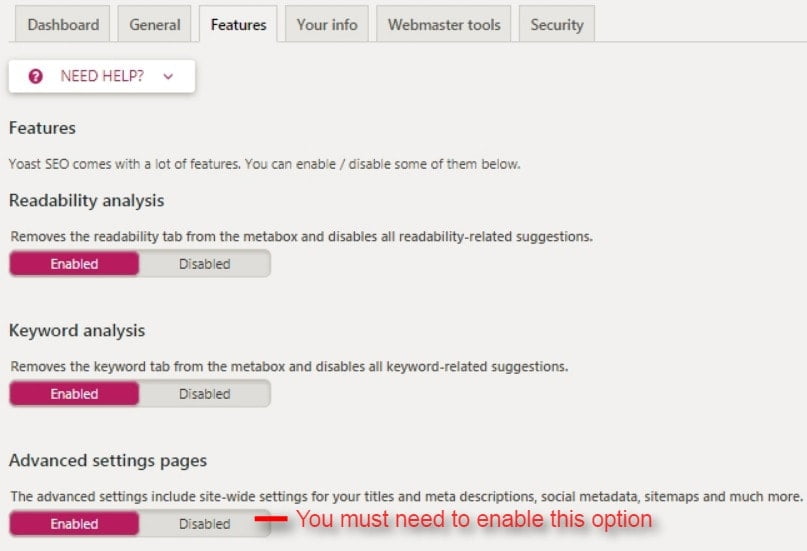
Features
If you click on the SEO icon, it will lead you to the settings page of Yoast plugin.Then click on “Features” tab and enable the advanced settings page. Upon enabling that, new items will appear under the SEO option in your WordPress dashboards like Titles & Meta, Sitemaps, Social, Advance, and Tools.
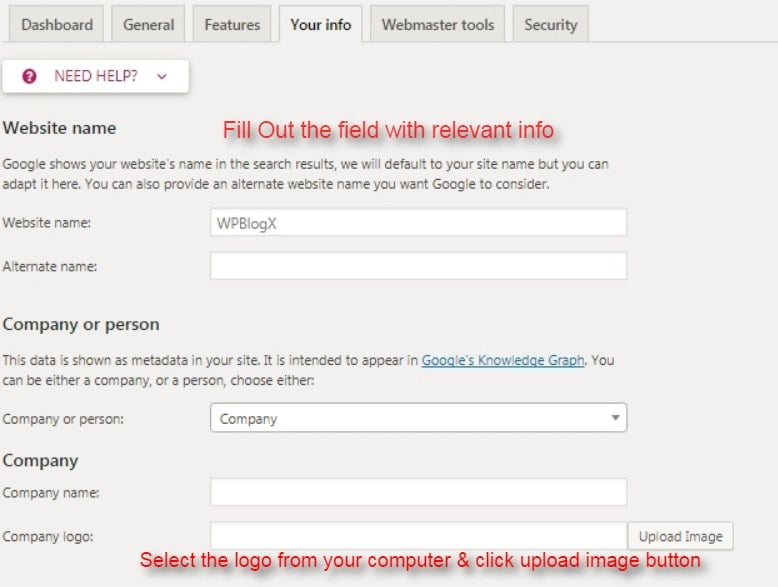
Your Info
Next move to “info tab”. Here in this tab, you have to enter your website name and the person or company name. If you leave the website name and the alternative name empty, the Yoast SEO will automatically use your site title as the website name. Next step you need to choose whether your website runs individual or by a company. If you choose a company, you have to provide company name with the company logo or if you choose a person, you need to provide the name of the person who owns the website.
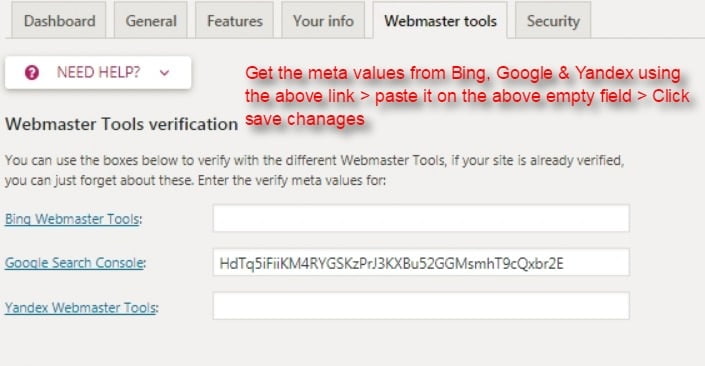
Webmaster Tools
It helps to identify issues with your website and can also let you know whether your website is infected with malware. To do this, you need to verify your website by adding the meta tag to your site.
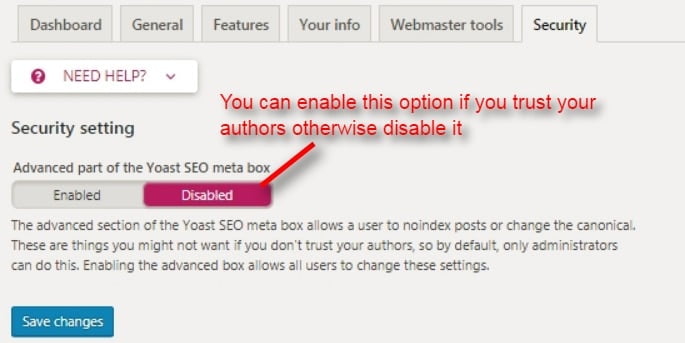
Security
By default in the security tab, it will be set to disable and strongly recommend to leave it disabled. In case if you enable it the other authors of your website will be able to make changes in “noindex” and “canonical settings” which is not a good idea.
2. Titles and Metas
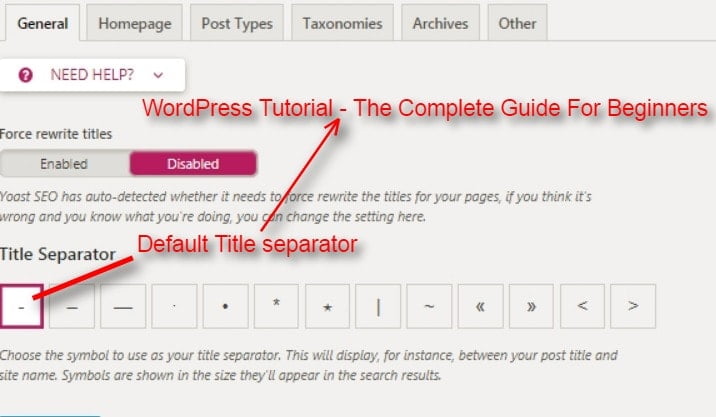
General
In the general tab, you can choose separator symbol for a website title. There are a variety of options available, but it will be good if you stick with the default option (Dash).
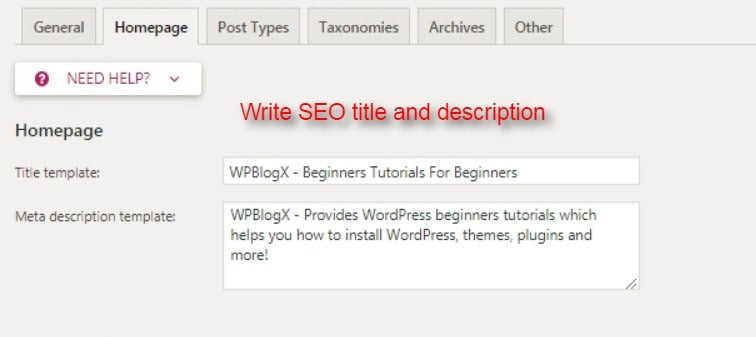
HomePage
By default, title template will be pre-filled by some text which looks like some kind of coding language.Title template allows you to define a way that the title is pulled and organized. However, you can add manually your homepage title and meta description. In case if you are using a static homepage, you will get a link to edit the title and description of your homepage.
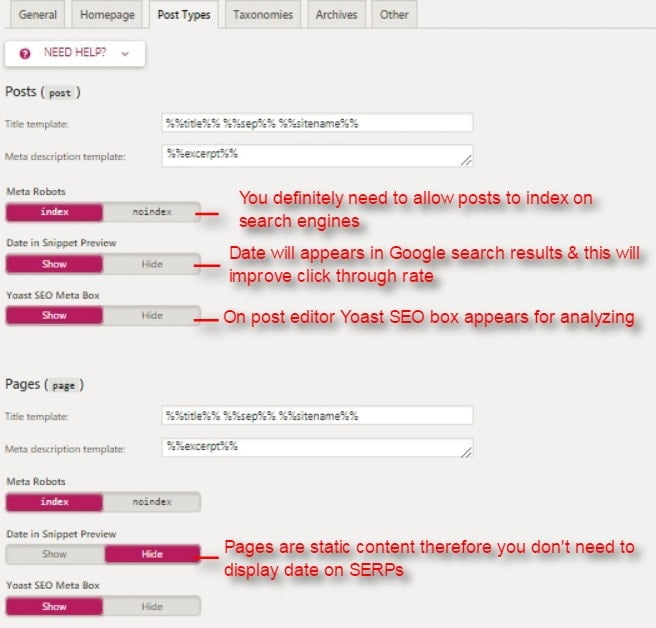
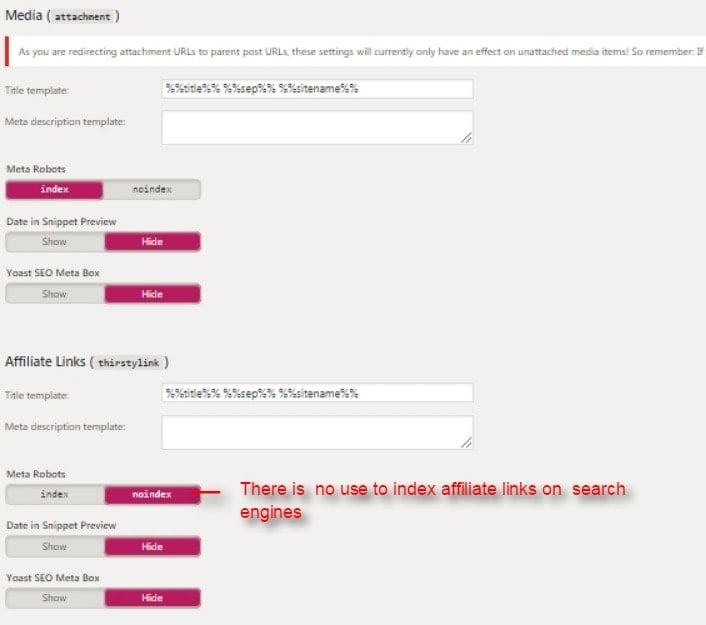
Post Type
Like homepage tab, Yoast SEO allows you to set the default description for your post, page, and media. If you forget to add to add title and meta description then the site-wide title and description will be used by default. But it is good to manually enter the title and meta description.
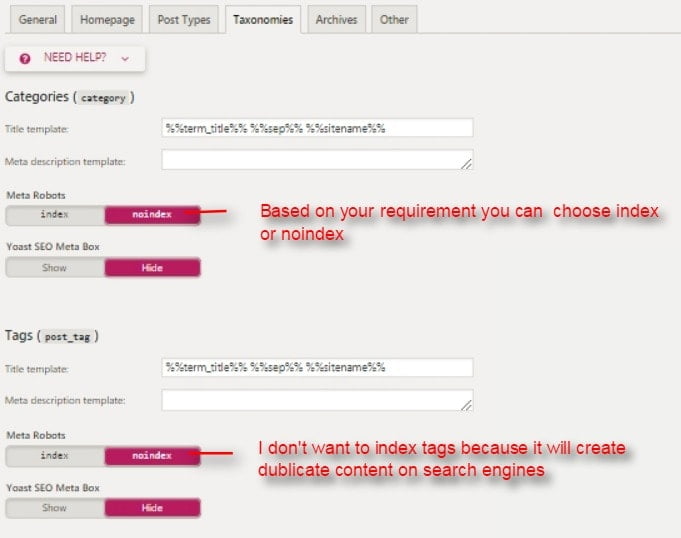
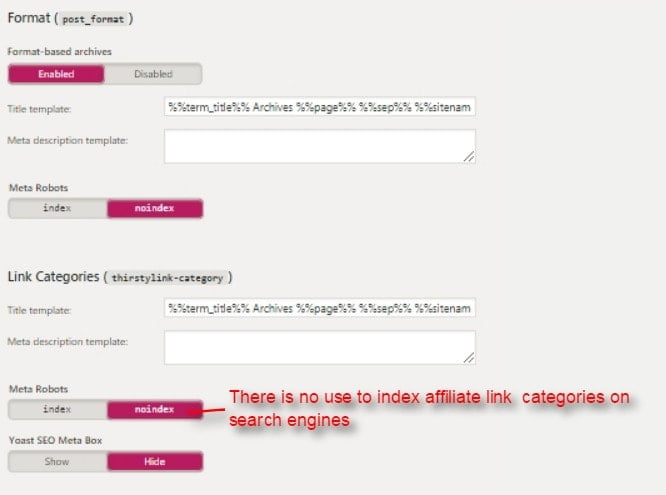
Taxonomies
In taxonomies tab, there is an option for indexing and non-indexing of your categories, tags, and format. It is better to keep all the button at no index.
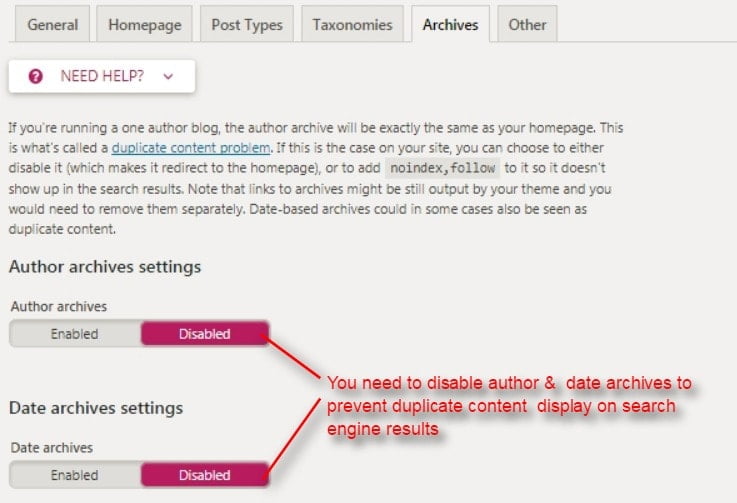
Archive
If you are running a single author blog or website the keep “Author archive” button disabled. The reason is both the main blog and author archives contains exactly the same content. If your website is a multi-author then you can enable it.
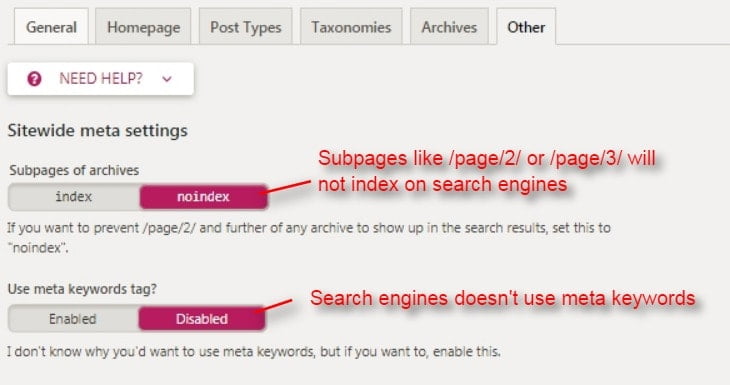
Other
It gives you certain additional settings to your website. Just index the “subpage” and disable the “meta keyword tag”.
3. Social
The social platform mainly helps you to increase your website traffic. Yoast SEO allows you to integrate your website with Google+, Facebook, Twitter etc. In that case, to integrate with social networking site you need to click on”Social” link under the SEO menu. By clicking on a new window will appear with the different tab.
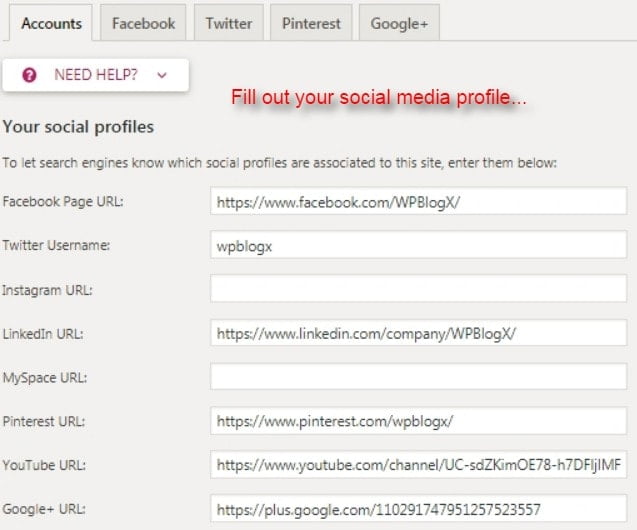
Account
In the account tab, you need to provide the URL of your social networking site associated with your website.
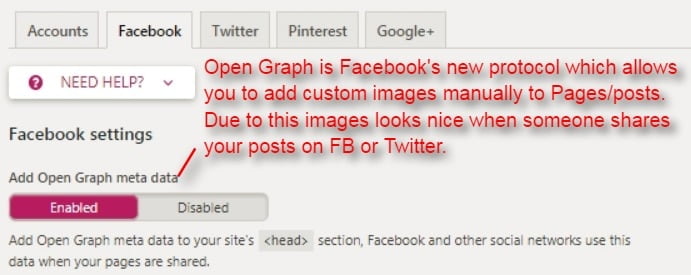
In the facebook tab, you have to enable “open graph metadata”. By enabling this facebook will choose the relevant thumbnails and page information when your website is shared on Facebook. In the “frontpage settings,” you need to give the title and description with the thumbnail image for your homepage. In the “default settings” upload a default thumbnail image, this image will be automatically used for all the post.
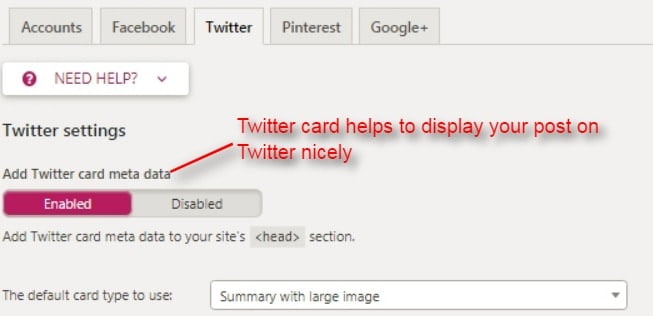
You can choose the card type of twitter. There is an option called “summary with large image” which is good to use since there is a large image to attract visitors.
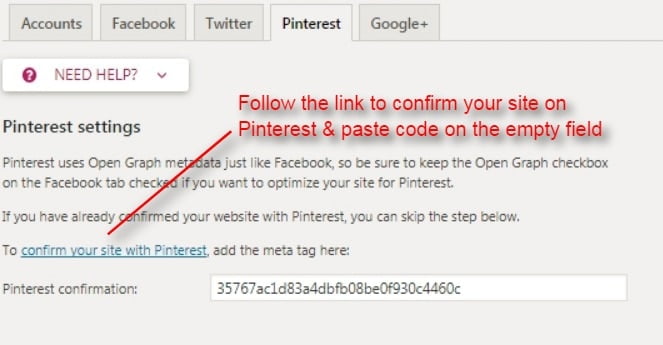
If you are using Pinterest and you want to add it to your website then you need to verify it by adding meta tag. To do this, go to your Pinterest account settings to add and verify your site. You will get a meta tag and paste it over here.
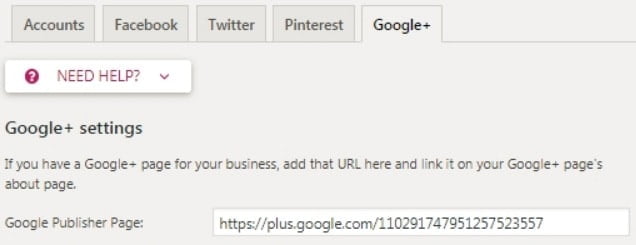
Google+
It is just like the other social networking settings, here you need to enter the URL of your Google+ page that you have created for your website.
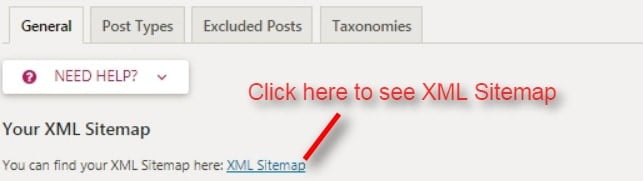
4. XML Site
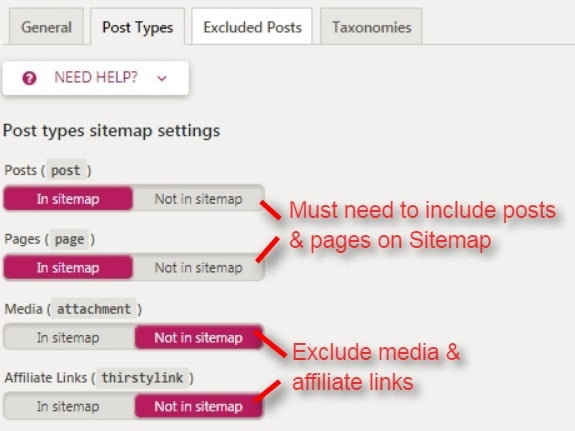
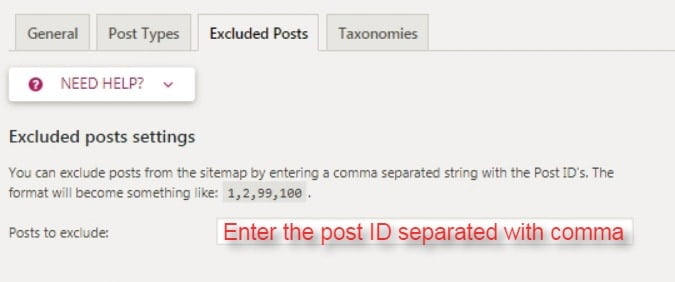
It is most important for your SEO. A sitemap is usually a file where you can list web pages of your website to tell the search engine about the organization of your site content. First, you need to enable “XML sitemap functionality”. Once sitemap is enabled click on “post types” and disables any post type that you don’t want to include into the sitemap. Next move to “exclude post tab”, which allows you to remove the specific post from XML sitemap. To do that you need to enter your post ID in the field. Next the taxonomies tab which is similar to “post type”.
General
Post Types
Excluded Posts
Taxonomies

5. Advanced
Under the “Advanced” tab you will be able to configure breadcrumbs, permalinks and RSS feed.
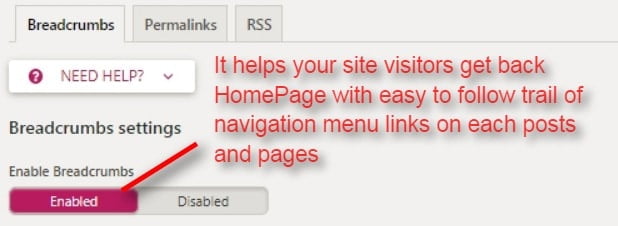
Breadcrumbs
It gives a clear path to the page you are on. With the help of breadcrumbs, you can easily find out how you are navigating on the website. Now click “Enable” and keep the default setting as such.
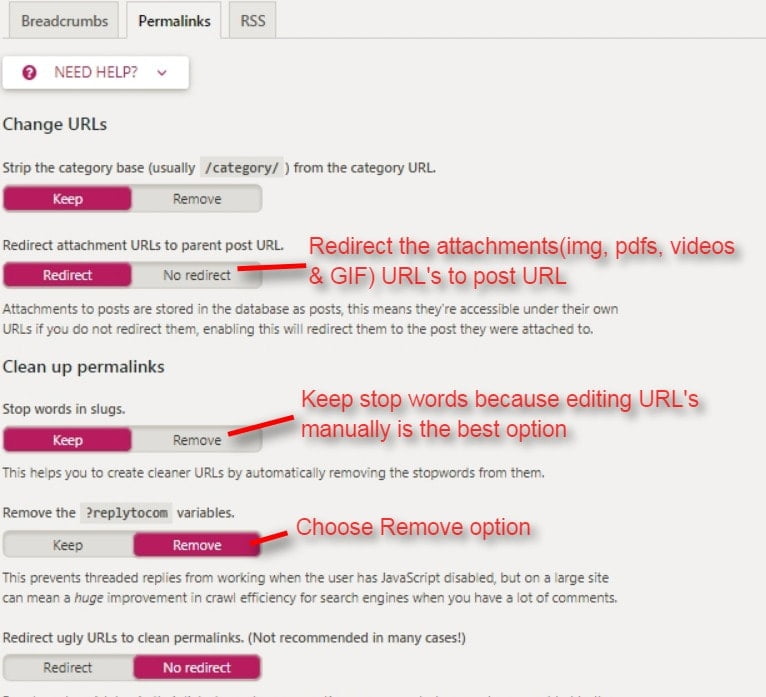
Permalinks
Permalink of Yoast SEO is completely different from the permalink of WordPress settings tab. In this section Yoast SEO allows you to remove the stopping words from the URL. By removing these words Yoast thinks that you will create clear URL. however, by removing these words makes the URL meaningless. It is better to keep the stopping words. Apart from this “keep” all the permalink settings.
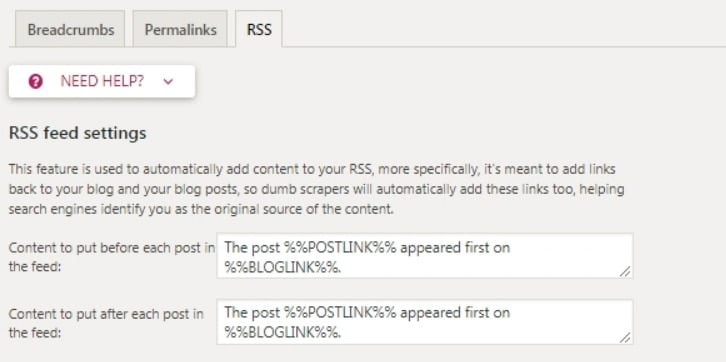
RSS
It is used to add backlinks to your blog or post. If any of your content is been copied from your site, it automatically adds backline to your website, making search engine identify that you are the original source of content.
6. Tools
Under the “Tools tab” there are 3 options: bulk editor, file editor, and import & export.
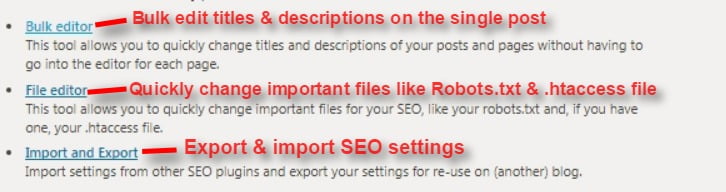
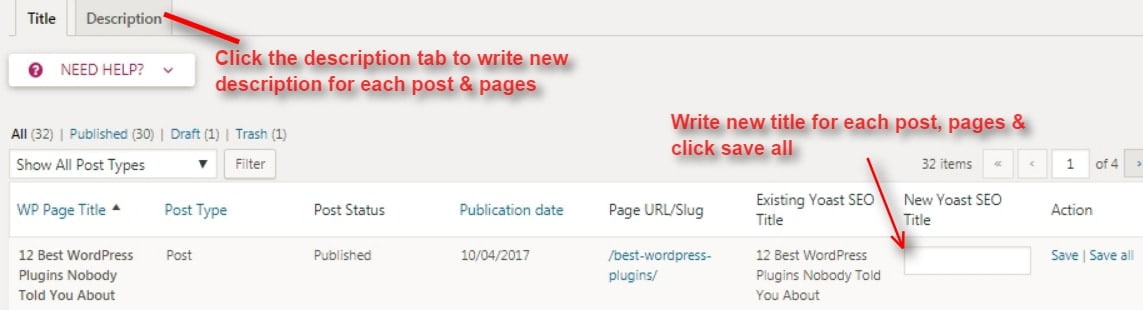
- Bulk editor: It will edit your title and description of the post in bulk without opening each and every single post.
- File editor: If you are a beginner you need not do any settings in this. But this file editor is actually used to edit .htaccess file and create a robots.txt file.
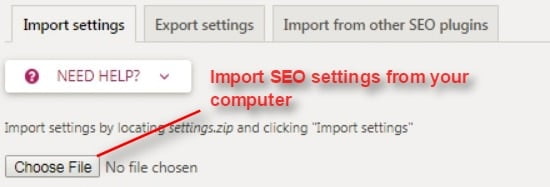
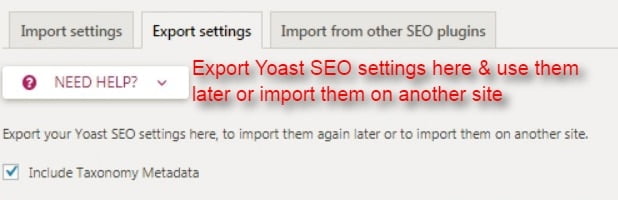
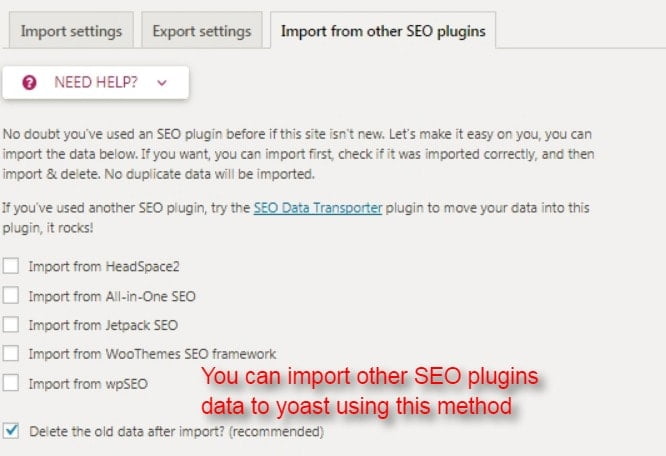
- Import & export: If you have another website and if you want to import all the settings of Yoast plugin from that site you can do it from here and vice versa.
Bulk Editor
File Editor – Edit Files Robots.txt and .htaccess file
Import and Export
Export Settings
Import From Other SEO Plugins
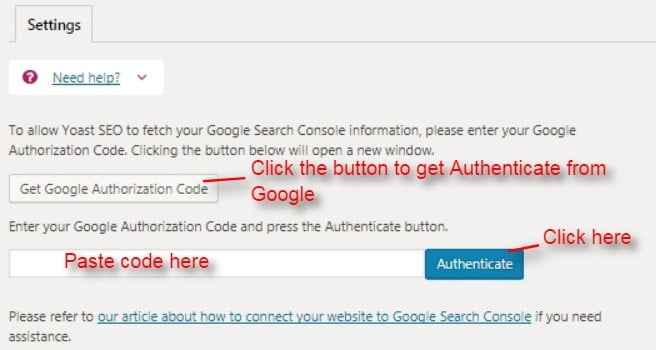
7. Search Console
It helps you to identify broken links on your site. To do it simply click “Get google authorization code”, and follow the instructions and get the code. Copy the given code and paste it over here. Once the verification is done, you will be asked to select your profile from a drop-down menu. Just choose your website and save the profile.
The entire installation and setting up of WordPress SEO Yoast plugin is successfully completed.
Final Thoughts:
Hope you all liked this article knowing about the WordPress Yoast SEO plugin. It is the most important plugin and almost used in every WordPress. If you have any queries please feel free to comment us. You can subscribe us on Facebook and Twitter.
thanks, Prabhu Ganesan for providing a step by step process, Will be more helpful for beginners, Yoast is an awesome plugin.
Thanks for your comment. Please like and follow us Facebook and Twitter for getting more updates.
No doubt, Yoast’s WordPress SEO Plugin is best SEO Plugin for WordPress to date. It saved me big bucks thanks for writing so much lengthy Tutorial on Yoast’s Plugin Setup. When I install this plugin then it is asking for “You’ve just installed WordPress SEO by Yoast. Please helps us improve it by allowing us to gather anonymous usage stats so we know which configurations, plugins and themes to test with” Allow Tracking or not, what should I do,
Allow tracking or not.
Hi! I’m having a problem with the YOAST Plugin. Even old versions. Every time I activate the plugin, I get the 500 Internal Error. It seems a problem with the theme because if I use other themes, the plugin works fine.
Best post so far but you need to improve the quality of images attached in this post. Thank you
Hello brother,
I am facing a big problem for yoast seo plugin. Here when I click search console option from menu it doesn’t show the setting option for Google Authorization Code button.
I don’t find this setting option anyway. Please anyone help me. I will be too much happy. Thanks advance for your help.
Cool post! the topic about Yoast Plugin is always very interesting .. Thanks for your explaining…