
Interactive maps let the user identify the routes, journeys etc by clicking on the markers in the map or by moving the mouse around. Maps come as a handy tool for your WordPress website. Adding an interactive map to your website will definitely help you to grow your business.
It is important for the customers to identify your location. With the help of a map, you can highlight any location you want, even multiple locations. Then it helps the visitors to switch between map and street views, which enables them to see what your locations look like from the outside without stepping out from their home.
One more benefit is that users can easily send maps to their mobiles, where they can get instructions on how to move to your location. In this post, we will be showing how to add an interactive map in WordPress.
Adding an interactive map in WordPress
Method 1: Manually adding an interactive map using Google My Maps
Step 1: Initially, navigate to Google My Maps website and then click on the “Create a new map” button.

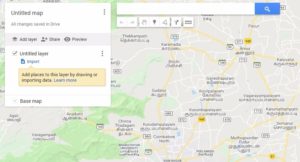
Step 2: Then you have to edit the map page, you can create your map by choosing a base map, layers, adding points of interest, and much more.
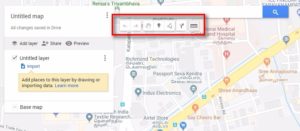
Step 3: Then with the help of toolbar at the top, you can draw lines on the map using rulers, add the routers, and select the items.
Step 4: On the left-hand side of the page there is a layers box. Here all the map items will be stored in layers. You can add, rename, edit, or even delete the layers. You can also the description, change the title, add images, videos to any item in the layer.
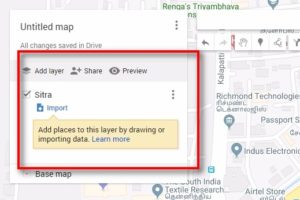
Step 5: Once you are done with editing the map, you can click the “Share” button to make it public and then you can use it on your website.

Step 6: Now a sharing center popup page appears where you have to click “Change” button under the “Who has access” section.
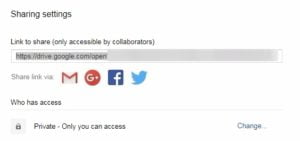
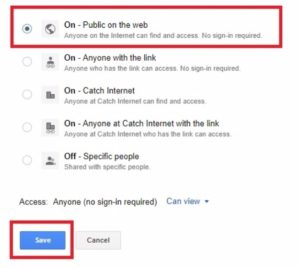
Step 7: Then you need to select “On-Public on the web” option and then click the “Save” button.
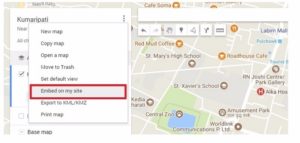
Step 8: Now click the “Done” button to close the sharing center popup. After that click the “Embed on my site” option from the edit panel.
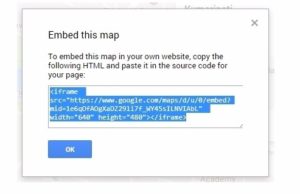
Step 9: You will have an embedded code regarding your location, just copy that embedded code provided there.
Step 10: Finally, navigate to the post or page where you want to add this interactive map. In the post edit screen, you can switch to the text editor and paste the map embedded code.

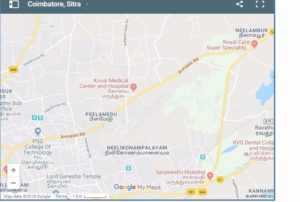
Step 11: Then press the “Save” button and preview the map before publishing it.
Method 2: Adding interactive map using a plugin
One of the most popular map plugins is Maps Marker pro plugin. Download and activate this plugin
Step 1: Once you activated, you need to move to Maps Marker Pro page to create your interactive map. To start with it click on “Add new layer” button.

Step 2: Then provide a name for the layer and then click the “Publish” button.

Step 3: Now a layer is created, and you are ready to add map markers to it. Go to the Maps Marker Pro> Add New Marker page to add the first marker.
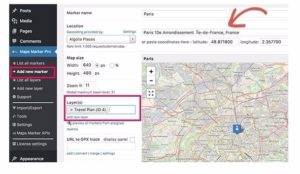
Step 4: Initially, enter a title for the marker, and then search for the location and select it. You need to place the marker on the layer you already created. You can do this by entering the name of the layers field and select it. Finally, click “Publish” button to save the markers.
Note: Repeat the same process for adding the other markers to the layer and you can edit the post or page where you want to add the map.
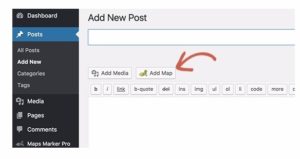
Step 5: Then in the post edit screen, click on the “Add Map” button.
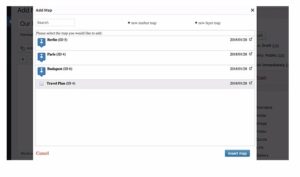
Step 6: Now a popup menu will display all your map markers and the layer you created. Then select the layer and click “Insert map” button.
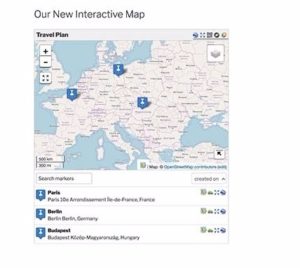
Step 7: That’s it, the plugin will add all the required shortcode in your post editor. You can now save and publish the post.
With this plugin, at any time you can edit the size and dimensions of your main layer.
Conclusion
As maps play an important factor, it is must to know how to add maps to your website. Hope you got an idea about how to add interactive maps in WordPress. If you have any queries, or if you come across any other suggestions of adding interactive maps, please feel free to comment us. Because your suggestions may be helpful for upcoming readers. You can subscribe to us at Facebook and Twitter.
You may also like this post