Do you wish to add image icons with navigation menus in WordPress? That’s cool and easy. Read out our article and am sure at the end you will know how to add image icons with navigation menus in WordPress. Actually, it is a wonderful idea of adding image icons in navigation menus.
Its because plain text links will never attract the users. It helps to make your navigation menu more attractive and gives you a clear focus on items. The icons are universal so it can be easily identified. It gives a complete visual treat for the users. So if you add icons that help your visitors to easily identify and work with it.
There are basically two methods of adding image icons with navigation menus. One is using plugins and another method is by using code snippet.
Methods to add image icons with navigation menu in WordPress
Method 1: Adding image icons using the plugin
There are dozens of the WordPress menu image plugin available, but among them, a Menu Image Plugin does a wonderful job.
Step 1: Install and activate the Menu Image plugin from your admin panel

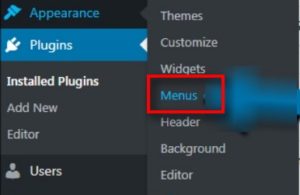
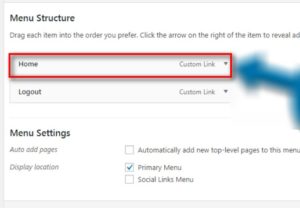
Step 2: Then navigate to Appearance > Menus in your admin panel
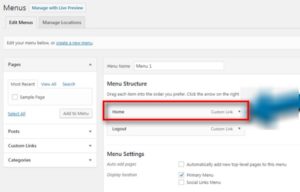
Step 3: Then click any one of the elements in the menu structure
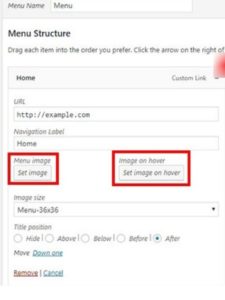
Step 4: Once you expand the menu, inside each menu you will have control for the image on hover, menu image, image size, and title position.
Menu image→ It is actually a default image and displays when a user visits your website
The image on hover→ It is possible to change the image when someone hovers a mouse over the menu item
Image size→ It is possible to select different sizes for the icon
Title position→ It lets you choose the position for the text where you need to place next to the image. If the “Hide” option is selected, then the text is removed, only the icon remains
Step 5: Then click the “Set image” button which is under the navigation section
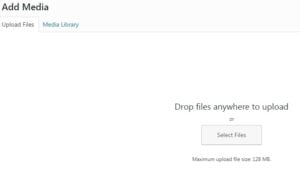
Step 6: This will display all the media folder in WordPress. You can use an image that is stored or you can upload a new image and use it

Step 7: To upload a new image click the “Upload image” button, and then choose the image you want and then click the “Select” button
Step 8: Right now, you can just leave the “Image on hover” option alone, and in case if you wish to change it later, you can easily add an image from the menu item.
Step 9: Then leave the rest of the settings as default. You can even alter the shape of the icon.
Step 10: Once all the settings are done click the “Save Menu” option to save all the changes that be done so far
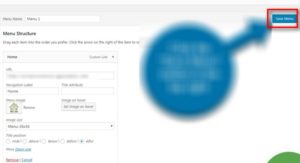
You can preview the changes, as well as you can refresh your website and see the changes. It is always a best practice of using the PNG image file types.
Method 2: Adding image icons using the code snippet
Another method is by adding CSS code. WordPress dropdown menu with images
Step 1: First move the Appearance > Menus in your WordPress dashboard and then navigate to “Screen Options” drop-down menu at the right corner

Step 2: In that click the “CSS Classes” box under the menu properties and this will automatically add all the new functions within menu items

Step 3: Then expand the menu items which you want to insert the image
Step 4: Then in the CSS Class enter a label. The name you enter is important as you will be using it in your CSS code
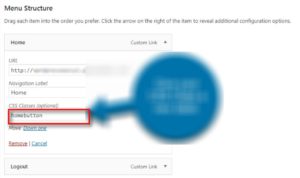
Step 5: Then next click the “Save Menu” button

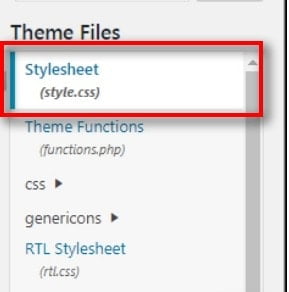
Step 6: The next step is to access the style.css file of your website. You can access through the text editor, or through FTP, or File Manager. Open the style.css file and enter the following lines of code:
.css_class_name //which you entered in the previous step

{

background-image:url(‘https://www.yourdomain.com/wp-content/uploads/2018/1/homeicon.jpg’); // use your own URL location. You will get the URL from media tools in WordPress

Background-repeat:no-repeat;

Background-position:left;

Padding-left:5px;

}
Note: Insert the code at the end of style.css file
Step 7: Finally, click the “Update File” button to save your changes

Based on your theme you need to set the images and size it through code. Hope you understood how to add image icon with navigation menus in WordPress.
If you have any queries or suggestions regarding How to add WordPress dropdown menu with images? please feel free to share with us. You can subscribe to us at Facebook and Twitter.
You may also like this post